Adding members to a distribution list in Exchange Online can streamline your email communications significantly. In this comprehensive guide, we’ll explore how to add members using both the Exchange admin portal and PowerShell. We’ll also cover how to delete members from a distribution list. Whether you are a beginner or a seasoned IT professional, this guide will provide you with detailed steps, examples, and best practices.
What is a Distribution List?
A distribution list (DL) in Exchange Online is a group of email addresses that allows you to send emails to multiple recipients simultaneously. Instead of typing each recipient’s address, you can simply type the distribution list’s name. This feature is especially useful for teams, departments, or projects.
Why Use Distribution Lists?
- Efficiency: Sending a single email to a group saves time and ensures everyone receives the same message.
- Organization: Keeps your email system organized, especially for large teams.
- Collaboration: Facilitates easy communication among team members.
How to Add Members to a Distribution List
Method 1: Using the Exchange Admin Center (Portal)
Follow these steps to add members to a distribution list via the Exchange Admin Center:
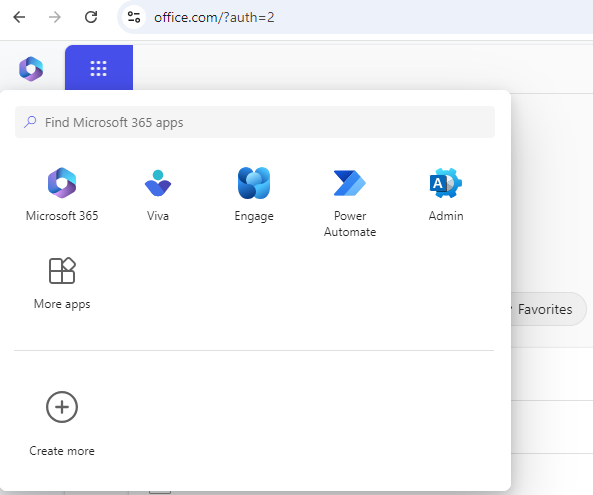
- Log in to Office 365:
- Go to office.com.
- Sign in with your admin account.
- Access Exchange Admin Center:
- Click on the Admin icon.
- In the left pane, expand Admin centers, and select Exchange.
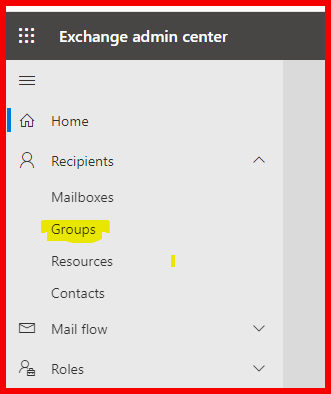
- Navigate to Recipients:
- In the Exchange Admin Center, click on Recipients in the left sidebar.
- Select Groups.
- Select the Distribution List:
- Find the distribution list you want to modify.
- Click on it to highlight it, and then click on the Edit (pencil) icon.

- Add Members:
- In the group properties window, select Members.
- Click on the + Add icon.
- Search for and select the users you wish to add.
- Click Add, then OK to confirm.
- Save Changes:
- Once you’ve added all desired members, click Save to apply the changes.
Method 2: Using PowerShell
For those who prefer command-line management, you can use PowerShell to add members to a distribution list. If you haven’t set up PowerShell yet, you can follow this guide: How to Install and Connect Exchange Online using PowerShell.
Step-by-Step Instructions
- Open PowerShell
Start PowerShell on your computer. - Connect to Exchange Online:
Use the following command to connect:
Connect-ExchangeOnline -UserPrincipalName your_admin@domain.com 3. Add Members to the Distribution List:
Use the following command to add a user:
Add-DistributionGroupMember -Identity "Your DL Name" -Member "user@domain.com"Replace "Your DL Name" with the name of your distribution list and "user@domain.com" with the email address of the user you want to add.
4. Verify Addition:
To verify that the user has been added, you can run:
Get-DistributionGroupMember -Identity "Your DL Name"Example of Adding Multiple Members
To add multiple members in a single command, you can use a comma-separated list:
Add-DistributionGroupMember -Identity "Your DL Name" -Member "user1@domain.com","user2@domain.com","user3@domain.com"How to Delete Members from a Distribution List
Method 1: Using the Exchange Admin Center
- Follow steps 1-4 from above to access your distribution list.
- Remove Members:
- In the group properties window, navigate to Members.
- Select the member you wish to remove.
- Click on the – Remove icon.
- Save Changes:
- Click Save to apply your changes.
Method 2: Using PowerShell
To remove a member from a distribution list using PowerShell, follow these steps:
- Connect to Exchange Online (as outlined earlier).
- Use the following command to remove a user:
Remove-DistributionGroupMember -Identity "Your DL Name" -Member "user@domain.com"- Verify Removal:
Get-DistributionGroupMember -Identity "Your DL Name"Best Practices for Managing Distribution Lists
- Regularly Review Membership: Periodically check who is in your distribution lists to ensure the list is up-to-date.
- Use Descriptive Names: Choose names for your distribution lists that clearly indicate their purpose or the group they represent.
- Limit List Size: Try to keep your distribution lists manageable in size to avoid overwhelming members with too many emails.
Conclusion
Adding and managing members of a distribution list in Exchange Online is straightforward, whether you choose to use the Exchange Admin Center or PowerShell. Understanding these methods not only simplifies communication within your organization but also enhances overall productivity.
For more insightful articles and resources, be sure to explore our website: Geekers Hub. If you have any questions or need further assistance, feel free to contact us.
External Resources
- For more information on Exchange Online, visit the Microsoft Docs page on Exchange Online.